Import Layers
The Import Layers tool allows you to add GIS layers to your custom map profile.
To get started, look for the Import Layers button located at the top of your Layer Legend.
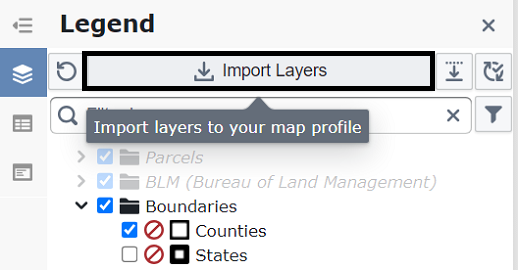
By default, your map is set up with all available parcels and important base layers such as BLM/PLSS, Boundaries, FEMA, and Roads.
When you click Import Layers, a dialog box opens where you can find additional layers.
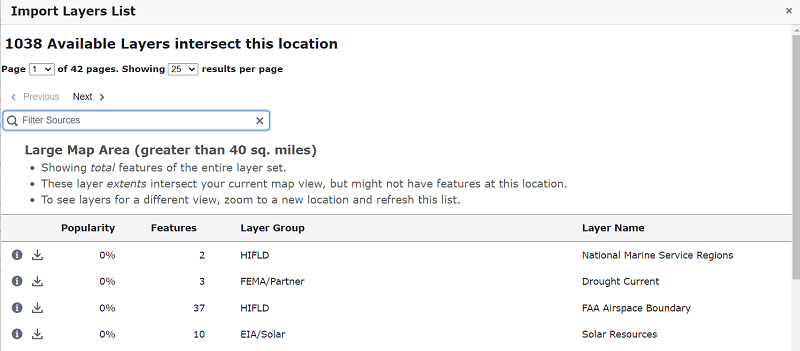
Note that your map's scale affects the layer search results. Zooming closer will provide more precise location results. To see layers for a different area, zoom to a new location and click Import Layers again. Learn more about how map scale affects layer availability.
Typing in the search bar helps narrow your results. For example, typing "USGS/Contours" will filter the list to show only that layer.

Once you find a layer you are interested in, you will see two buttons to its left.

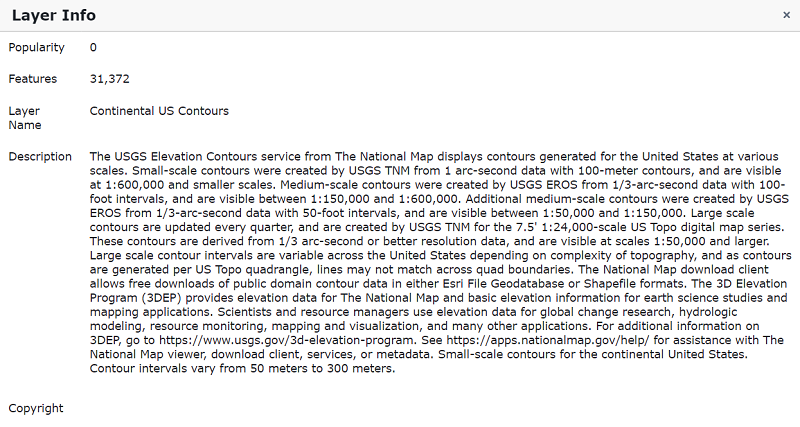
The Layer Info button provides more information about the layer, including data from the originating agency.
The Import button adds the layer to your map. A confirmation dialog will appear, and the layer will be added to your Layer Legend. To remove it later, right-click the layer in the legend and select "Remove".

